
Git as a secure private Maven repository

As my previous blogposts already covered how to set up a private Maven repository, you might wonder “Why again a Maven blogpost?”. Well that’s a fair question and the answer is twofold:
- Backup mechanism, to ensure you never ever loose releases.
- Remote access outside of your local network (intranet).
And Git implicitly solves both! :)
I’ll demonstrate how to configure Bitbucket as a free private remote Maven repository and automate everything in one simple Gradle script.
Preface
While you could use any Git repository (like GitHub), I choose Bitbucket as it offers free private repositories for small teams. Furthermore it has an API which we will need for some of the wizardry later on.
All source code is available on Github and can be used after some minor BitBucket configuration. You can find the Gradle script in a separate repository.
Bitbucket
Without any further a do, lets get to it and start configuring BitBucket.
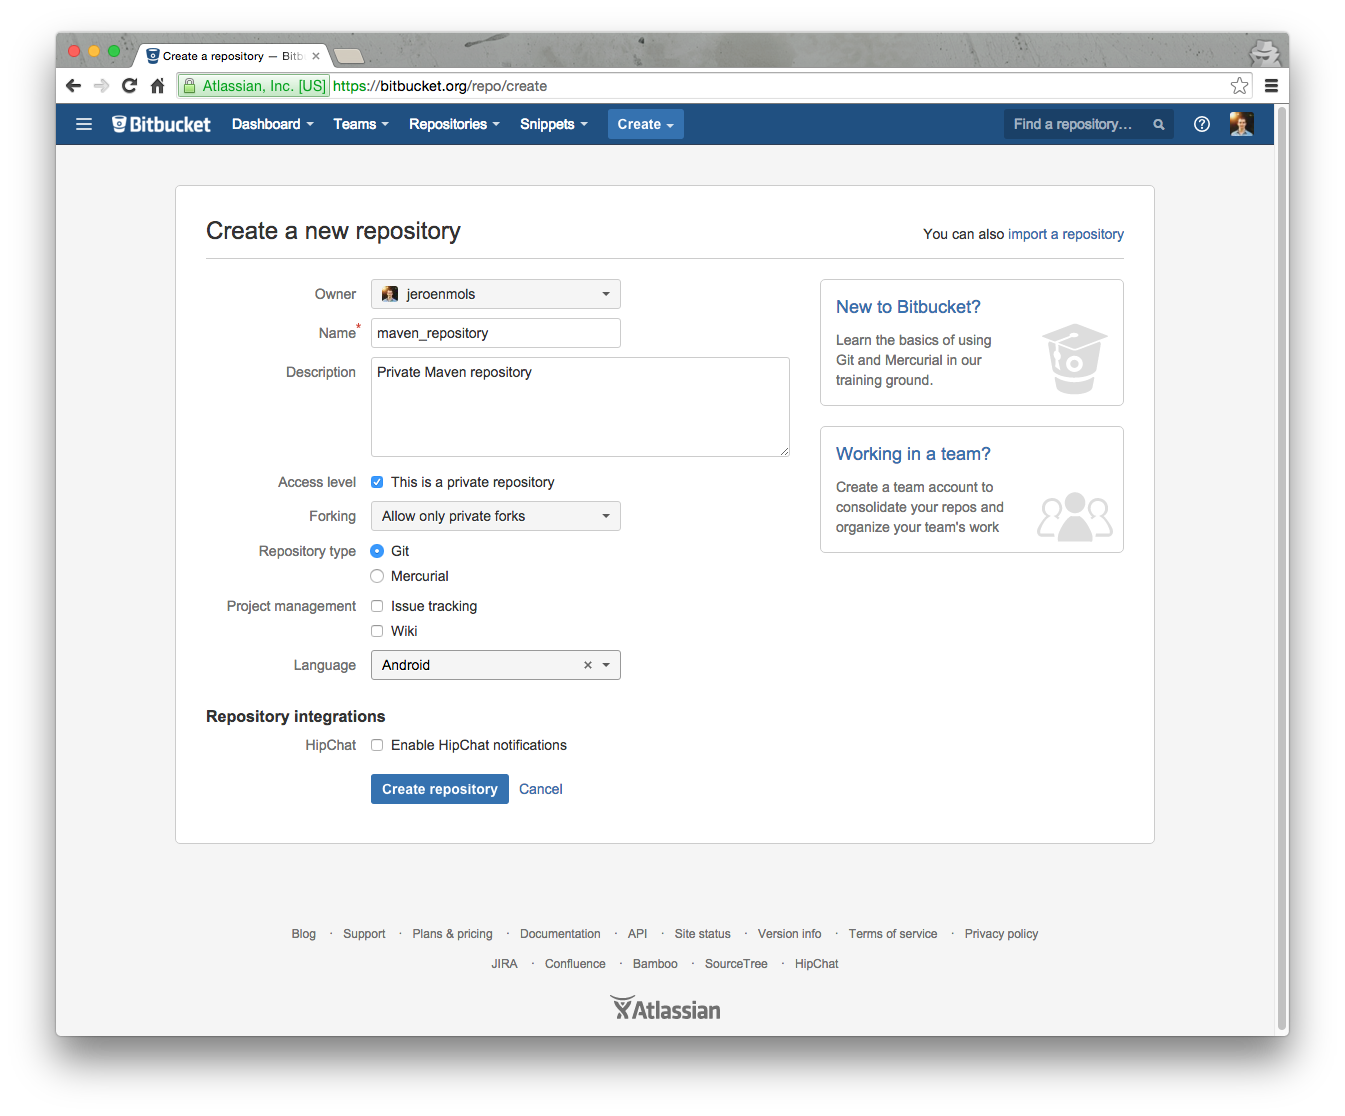
Login to Bitbucket and create a new private repository called maven_repository.
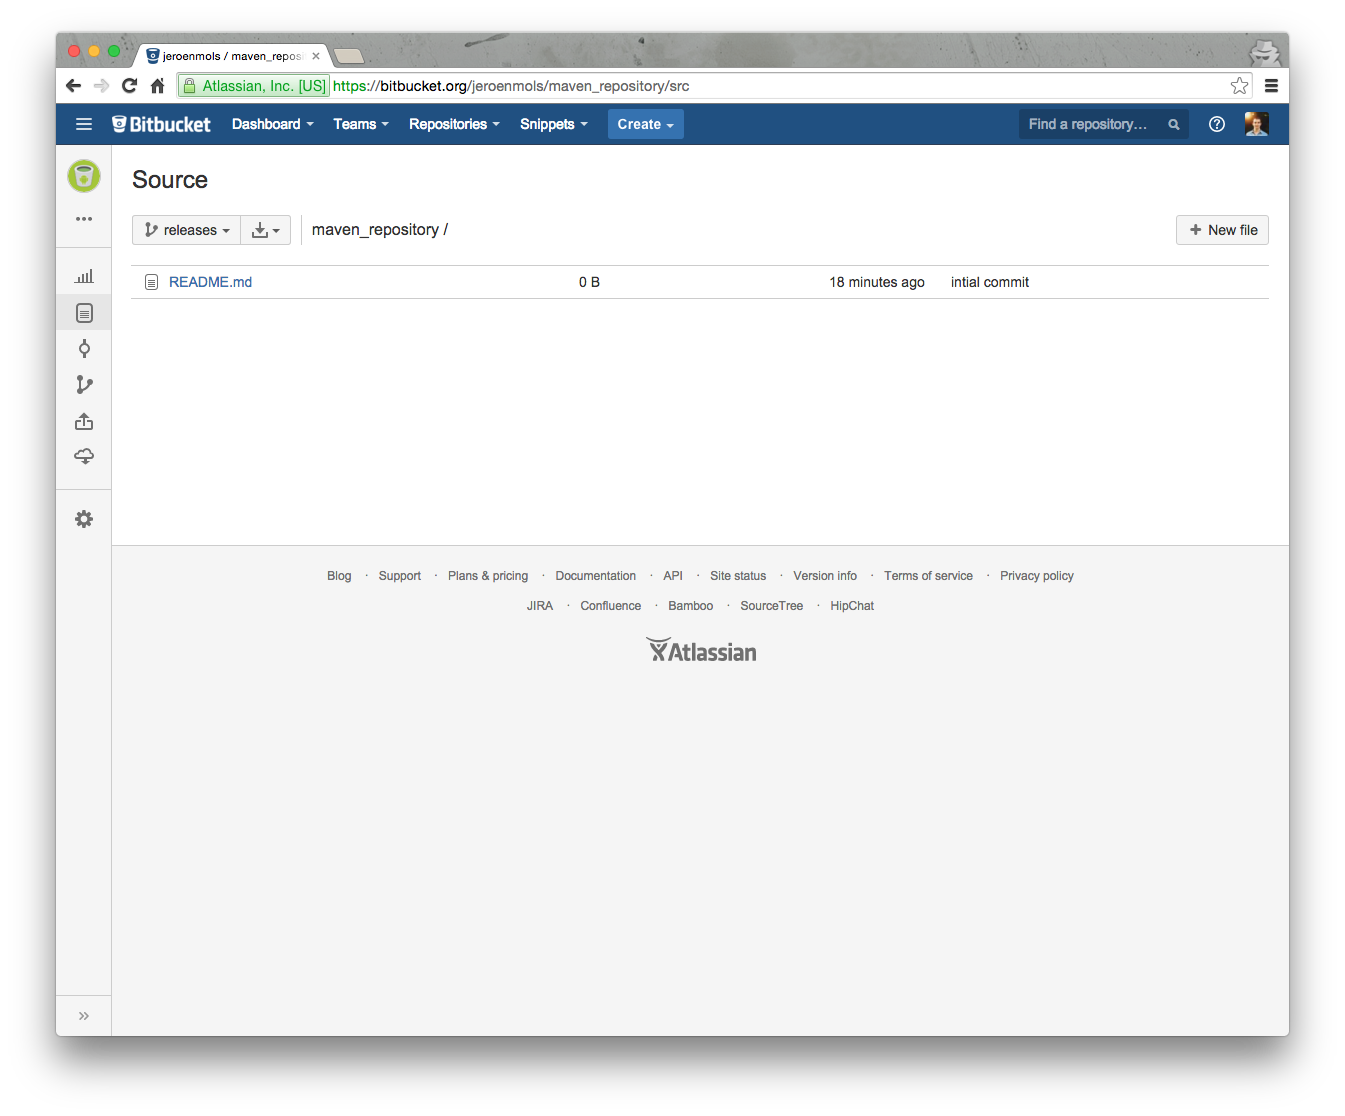
Checkout the repository locally, create a README.md file and commit that file to your local branch. Now push that branch to BitBucket, BUT make sure to push it to a remote branch called “releases”. (this is key, as the plugin we’ll use later on depends on this)
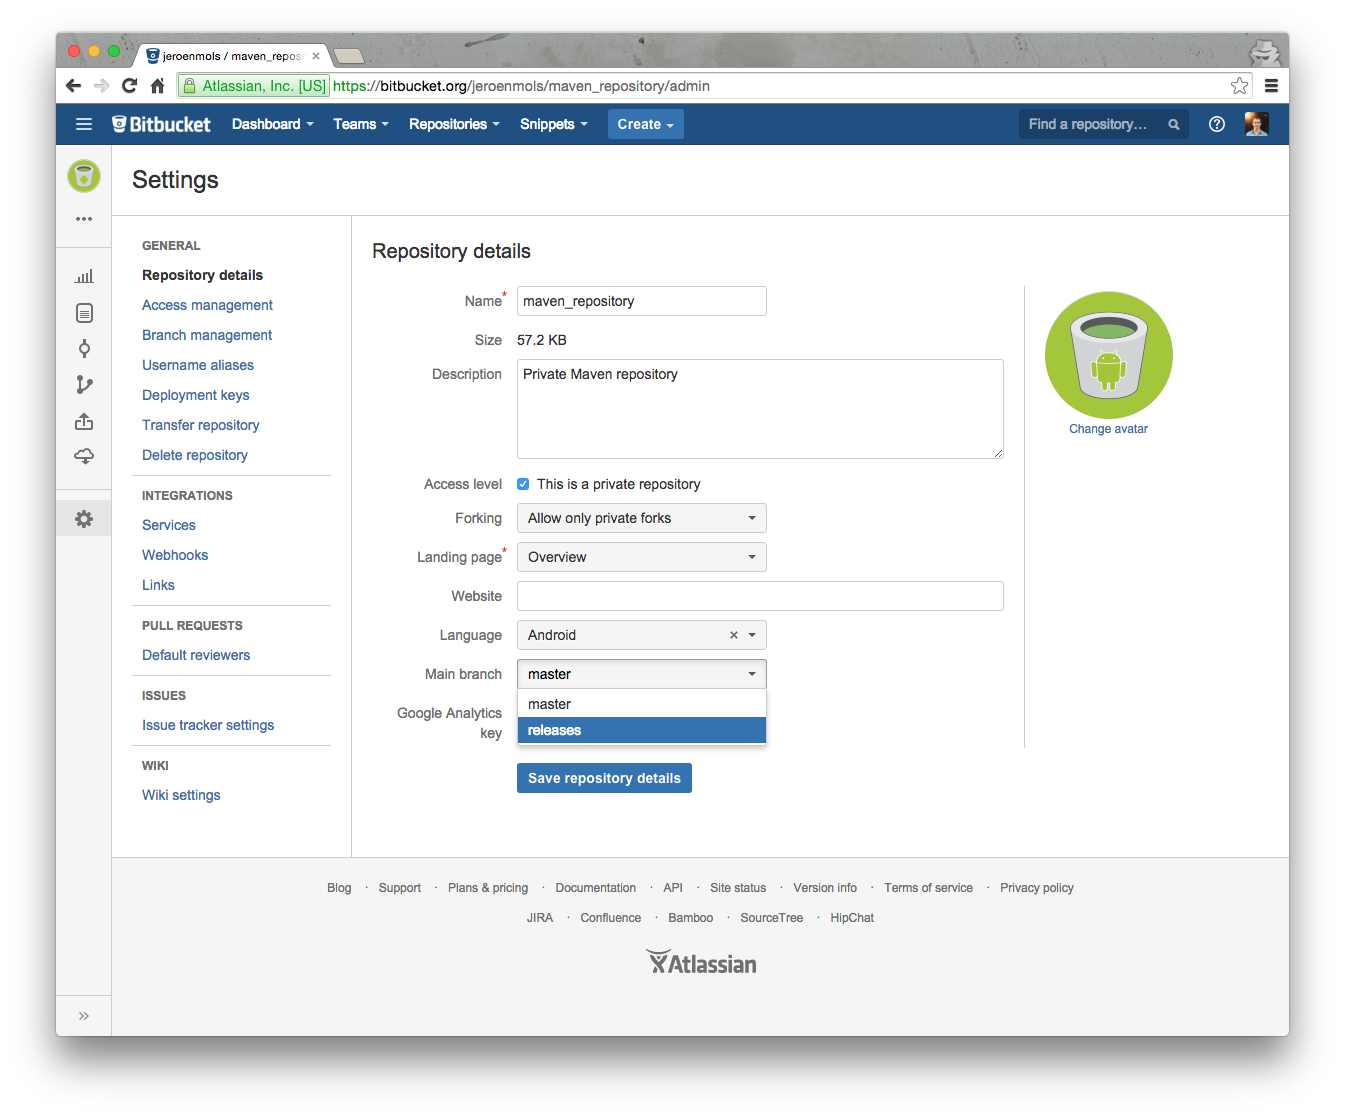
Troubleshooting releases branch If you accidentally push your local branch to a remote called
master, create a new branch locally called releases, push that to a remotereleasesand change your main branch in the BitBucket settings for that repository.
You can safely remove origin/master if you want.
Wagon-git
To upload Maven artifacts to a Git repository, we will use a Maven plugin called Wagon-git, which can hook into the existing Gradle DSL for Maven uploads.
Simply add a new repository:
repositories {
    maven { url "https://raw.github.com/synergian/wagon-git/releases" }
}
And configure Maven like you would normally do, but with our BitBucket repository url in a particular format:
uploadArchives {
    repositories.mavenDeployer {
        ...
        repository(url: 'git:releases://[email protected]:' + COMPANY + '/' + REPOSITORY_NAME + '.git')
        ...
    }
}
Where COMPANY is the name of your BitBucket organization and REPOSITORY_NAME is maven_repository.
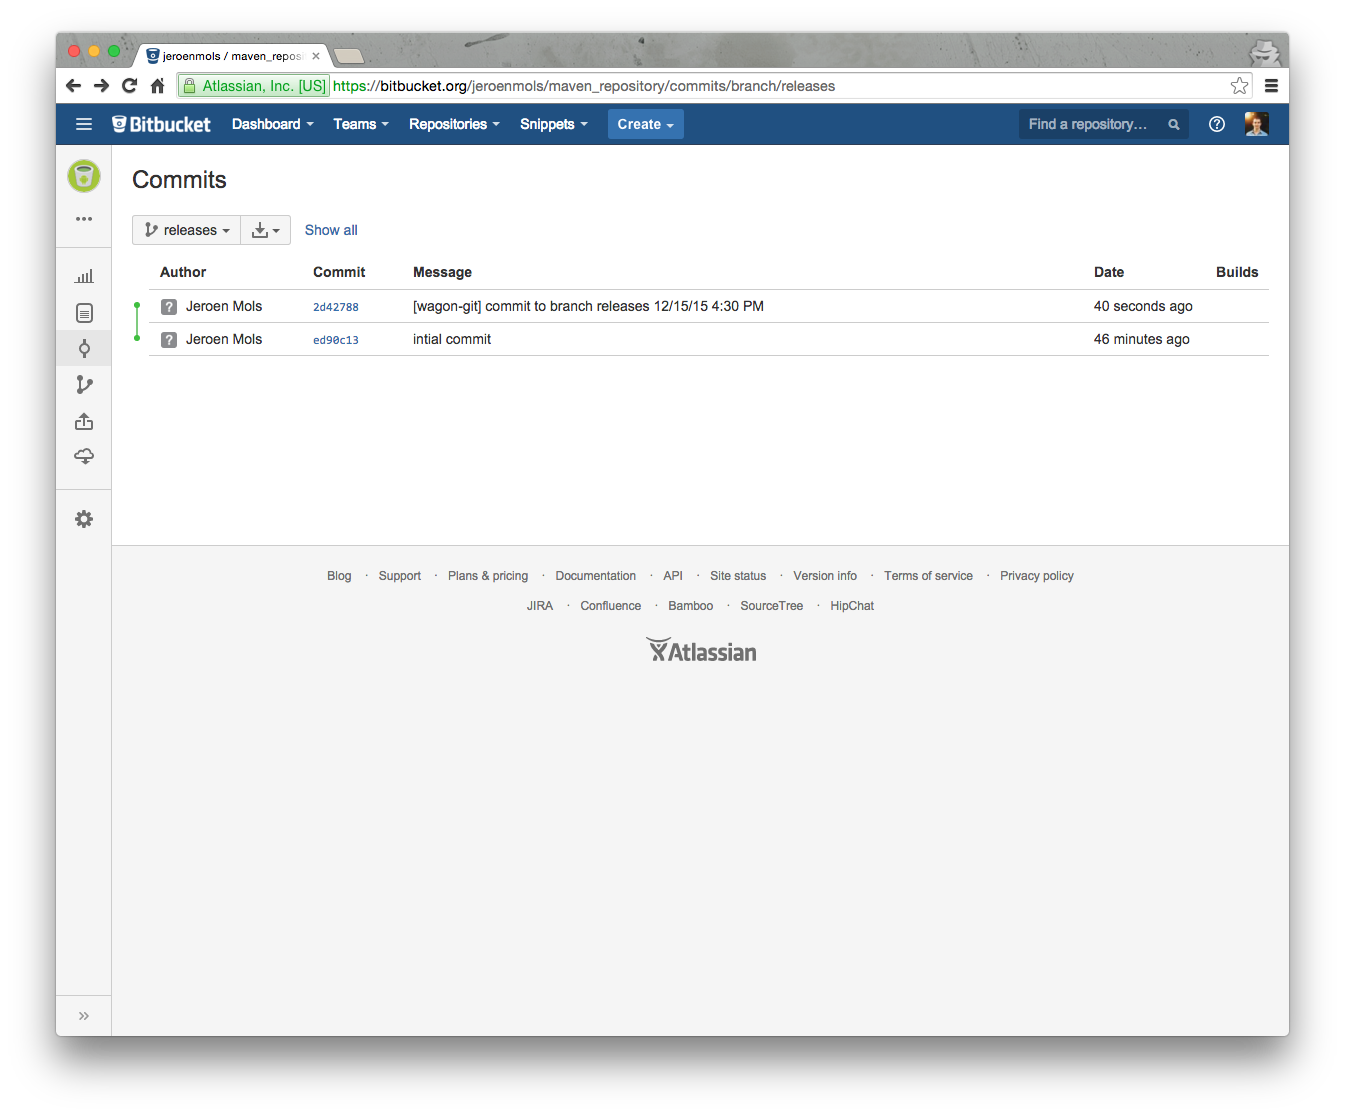
Now you can simply create a new release by running the following command:
./gradlew assembleRelease uploadArchives
And check BitBucket for the resulting artifacts.

Unique versions only
As Git naturally allows you to override existing files, we will need to do something to prevent this from happening. Otherwise, you could have a v1.1.3 library, which is stable one day and full of bugs the next (because someone replaced it in the Maven repo). Not exactly what you want, right?
We will use the BitBucket API to verify if a particular release already exists:
task lookForArtifacts {
    doLast {
        ...
        def repositoryUrl = 'https://api.bitbucket.org/1.0/repositories/' + COMPANY + '/' + REPOSITORY_NAME + '/raw/releases/' + artifactPath
        ...
        if (urlExists(repositoryUrl)) {
            throw new RuntimeException("Artifact with version " + ARTIFACT_VERSION + " already exist - not executing uploadArchives")
        }
        return true
    }
}
Quite simple actually: just reverse engineer the url of a particular release artifact and the see if we get a 200 response or not.
Finally we ensure that we always run the previous task before running the Maven task:
uploadArchives.dependsOn lookForArtifacts
Running ./gradlew uploadArchives now successfully creates a release.
Consuming artifacts
Add your Maven repository to the list of repositories in your main build.gradle file:
allprojects {
    repositories {
        jcenter()

        maven {
            credentials {
                username USERNAME
                password PASSWORD
            }
            url "https://api.bitbucket.org/1.0/repositories/jeroenmols/maven_repository/raw/releases"
        }
    }
}
Note that we have to provide a username and password as we are connecting to a private repository.
Important
Make sure not to put your username and password directly into the
build.gradlefile! That would be a major security risk. Instead have a look at this blogpost to learn how to securely provide a username and password.
Now simply add a dependency on your library like you are used to and you’re ready.
dependencies {
    ...
    compile 'com.jeroenmols.awesomelibrary:awesomelibrary:1.0.0'
}
Putting it all together
To make your life a lot easier, I’ve created a Gradle script that does everything for you.
Setting up your project is easy:
- Add the following plugin to the top of the build.gradle file in your library folder
apply from: 'https://raw.githubusercontent.com/JeroenMols/GitAsMaven/master/publish-bitbucket.gradle'
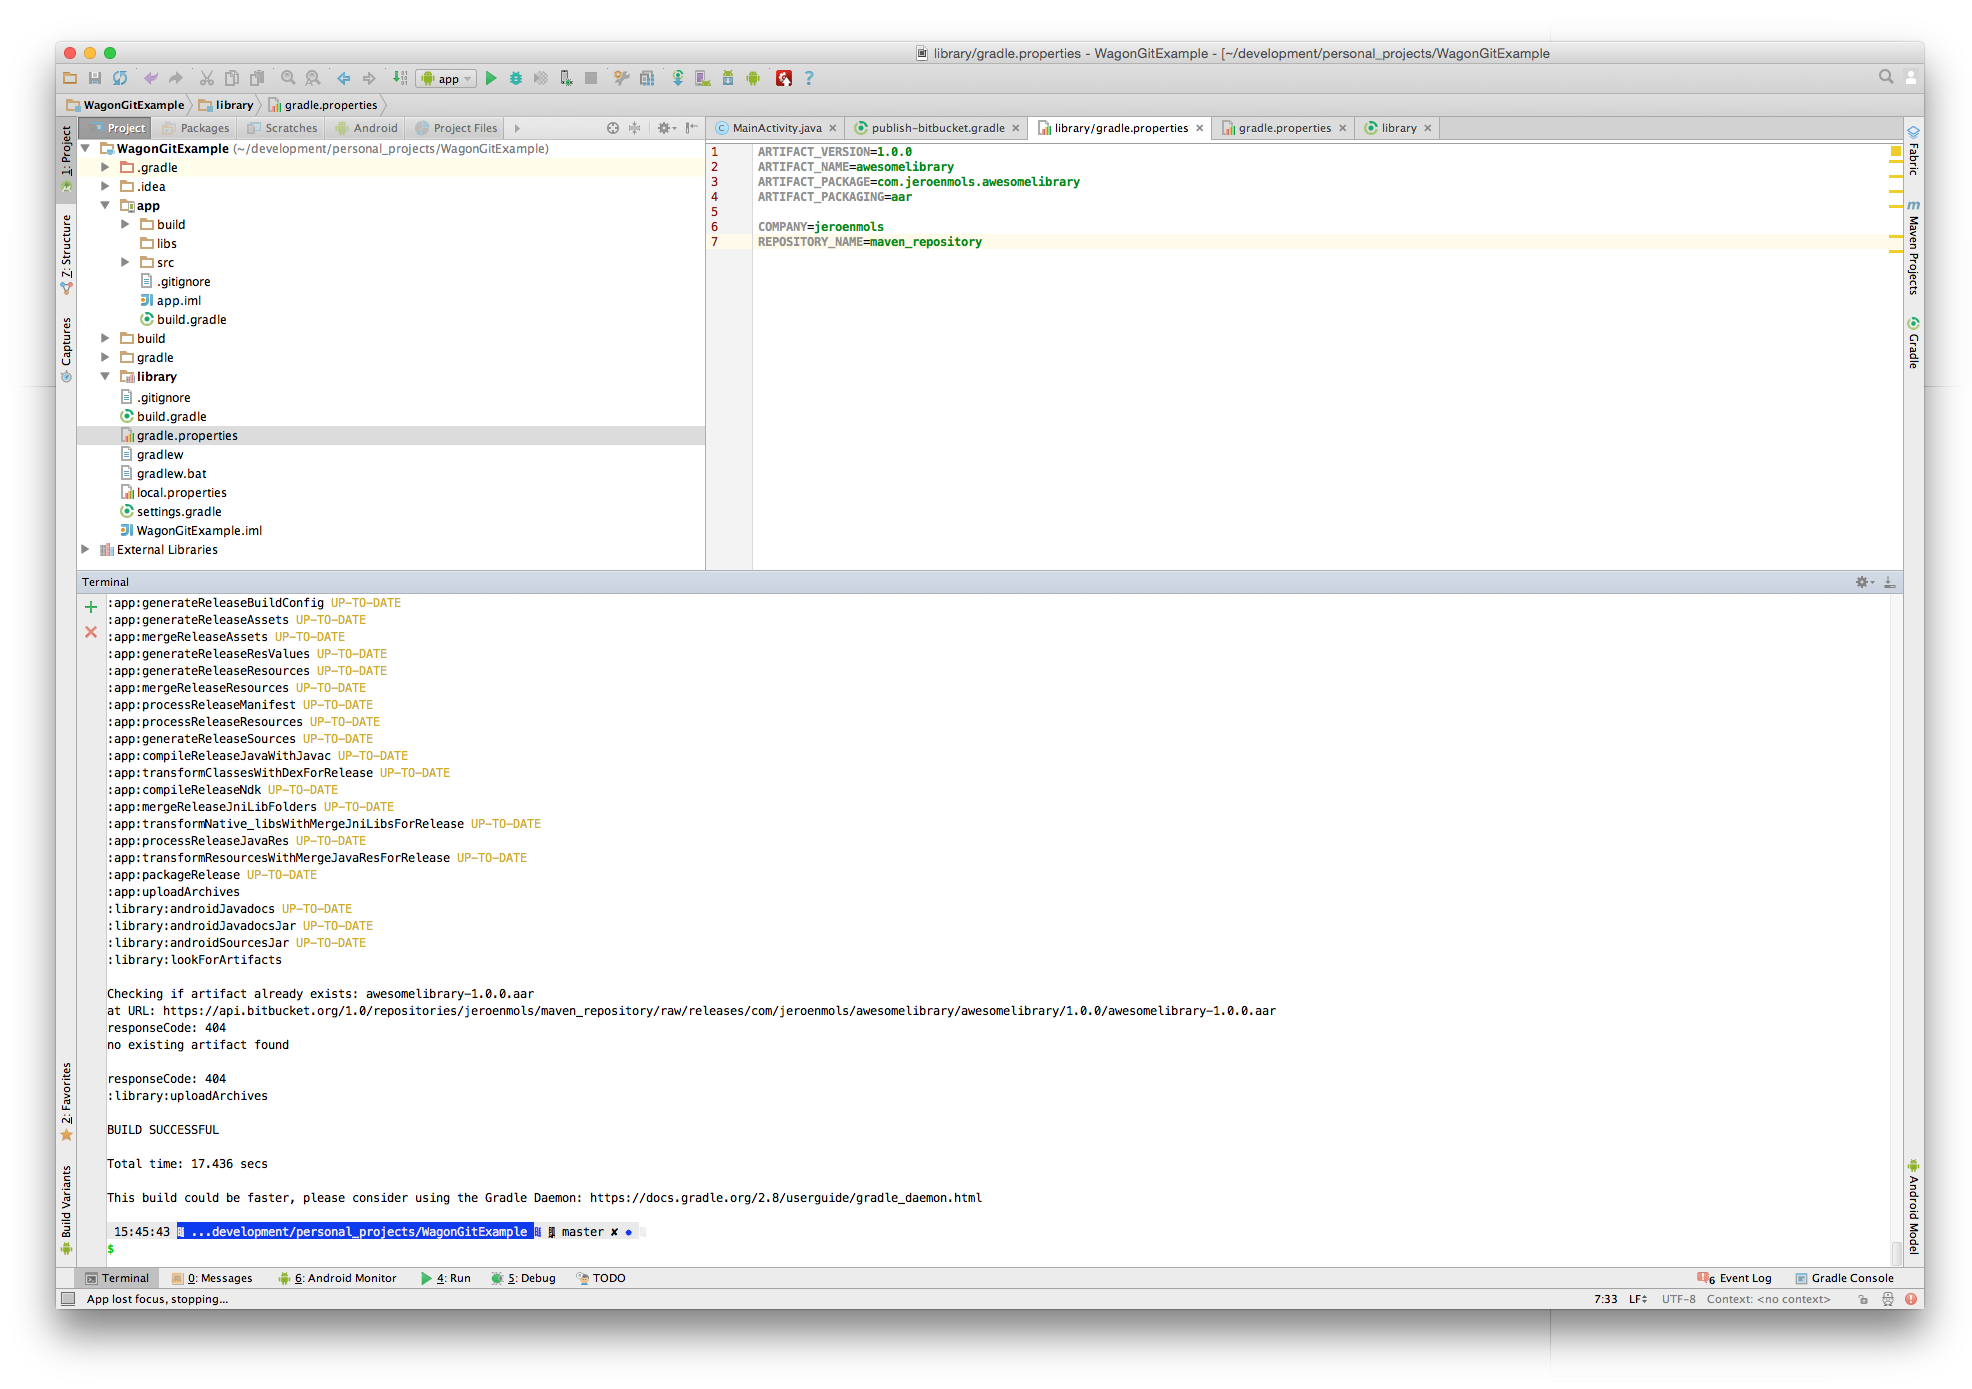
- Create a gradle.properties file within your library folder with the following parameters:
  ARTIFACT_VERSION=<version_here>
  ARTIFACT_NAME=<libraryname_here>
  ARTIFACT_PACKAGE=<packagename_here>
  ARTIFACT_PACKAGING=aar //You could also use jar

  COMPANY=<bitbucket_team_company_here> //Username if not part of team
  REPOSITORY_NAME=<bitbucket_reponame_here>
- Create a gradle.properties file in the root of your project (or better in the global
.gradlefolder on your system) with the following parameters
  USERNAME=<username_here>
  PASSWORD=<password_here>
- Run the following command to upload a version to your Maven repository.
./gradlew uploadArchives
Thats’s it!
Wrap-up
Configuring BitBucket or GitHub as a (private) Maven repository is quite easy and can be fully automated in a single Gradle script. Hopefully this blogpost has inspired many of you to start reusing more code.
A basic example project with everything in this blogpost integrated is available on GitHub. Or you can also directly integrate the Gradle script into your library.
As always you can reach me on Mastodon, or leave a comment below!
Leave a Comment