Pro Android Studio - Taming the interface

Not only can anything in Android Studio be controlled with a keyboard shortcut, it offers many more simple tricks to make you more productive.
To conclude this series, we will look at how you can control the interface, invoke every (!) action and point you to even more advanced features.
This post is part of a series with practical examples on how you to get the most out of Android Studio:
TL;DR
I strongly suggest you look at the examples below, but a quick reference is always useful.
⌥ + number: open/close views⇧ + ⌘ + ↑: enlarge view⇧ + ⌘ + ↓: shrink view⇧ + ⌘ + →: enlarge side view⇧ + ⌘ + ←: shrink side view-
⇧ + ⌘ + F12: close all views ⇧ + ⌘ + ]: next tab⇧ + ⌘ + [: previous tab^ + ⇧ + →: text view (xml layout editing)^ + ⇧ + ←: design view (visual layout editing)-
⌥ + letter: invoke button ⌘ + ⇧ + A: action lookup
Taming the interface
Using your keyboard is always more efficient than using a mouse. This is because you can make use of all your fingers at the same time + you don’t have to switch between mouse and keyboard.
Wouldn’t it be cool if we never have to use our mouse again?
First of all you can use ⌥ + number to open/close different Android Studio views (e.g. Logcat, Project view,…)
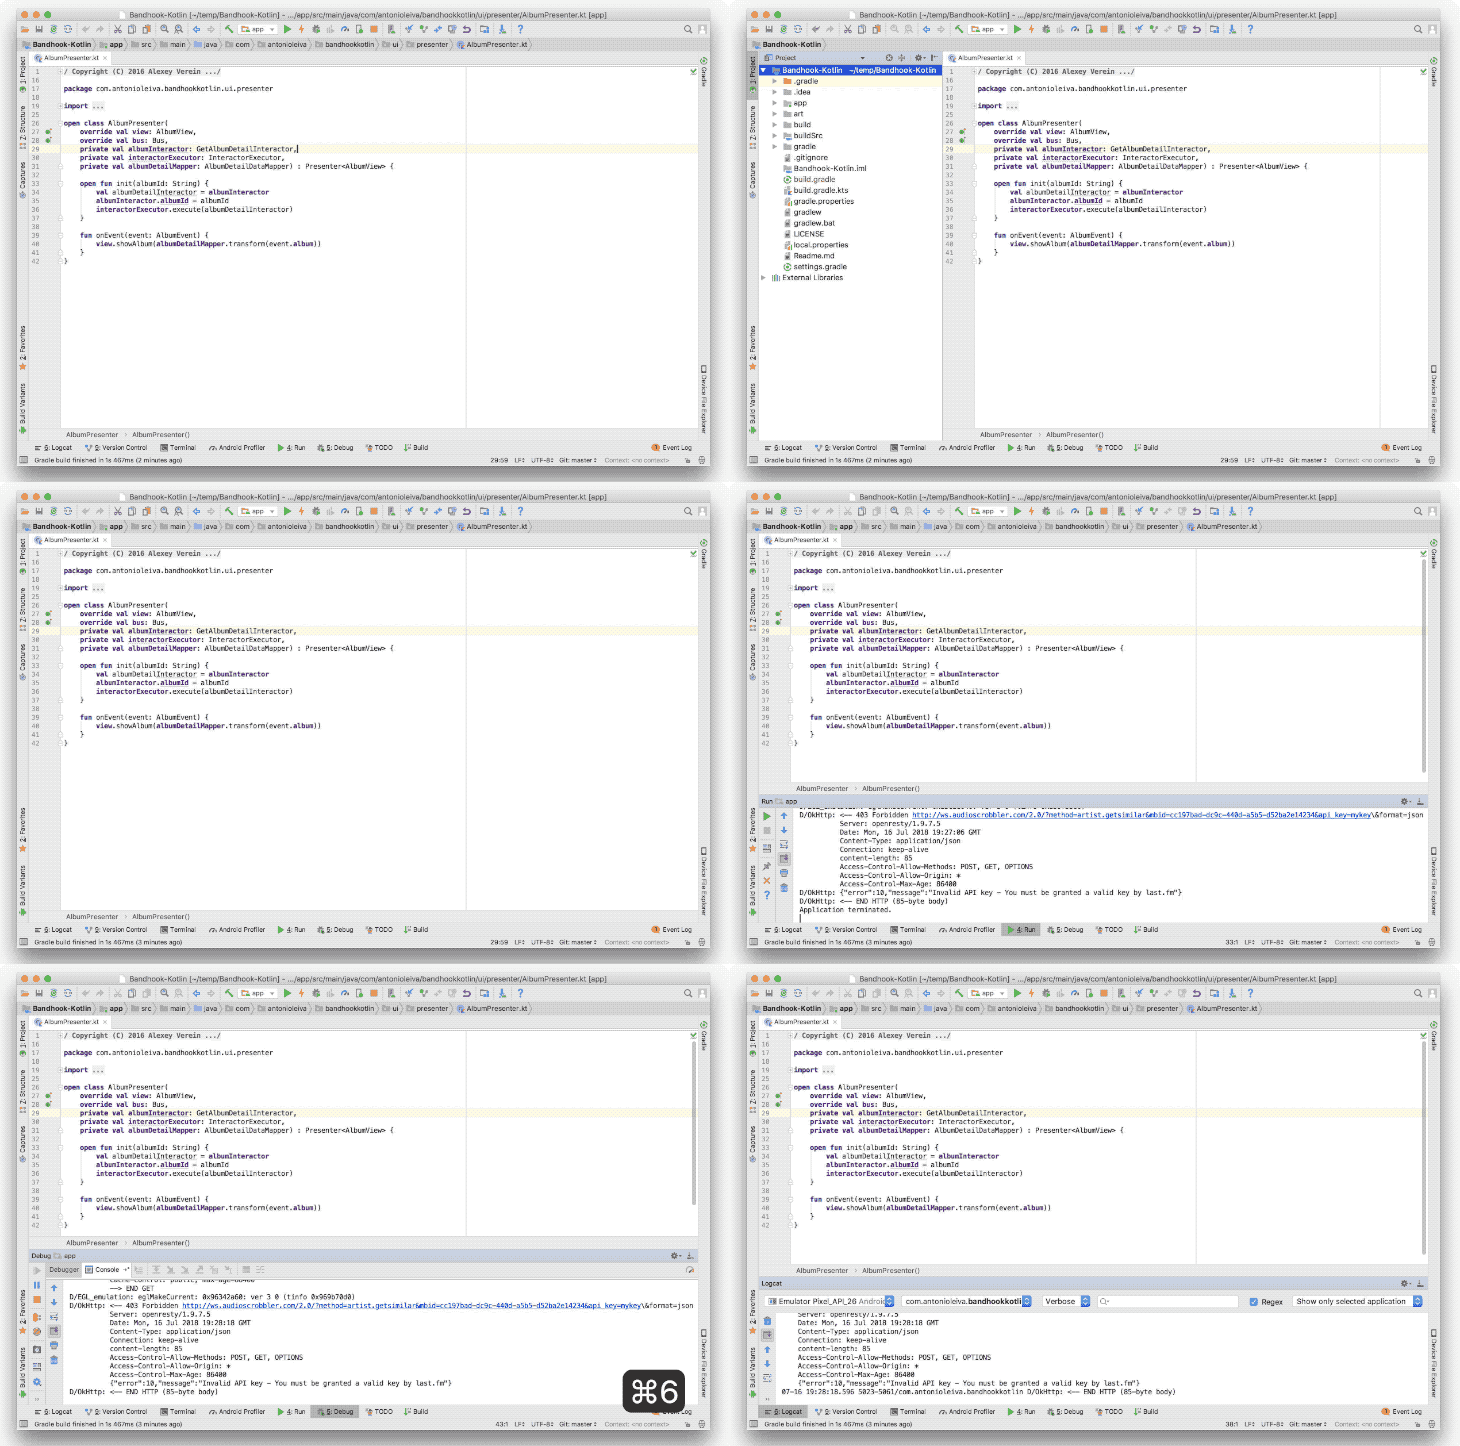
You can shrink/enlarge the views above using ⇧ + ⌘ + ↑ and ⇧ + ⌘ + ↓ respectively,
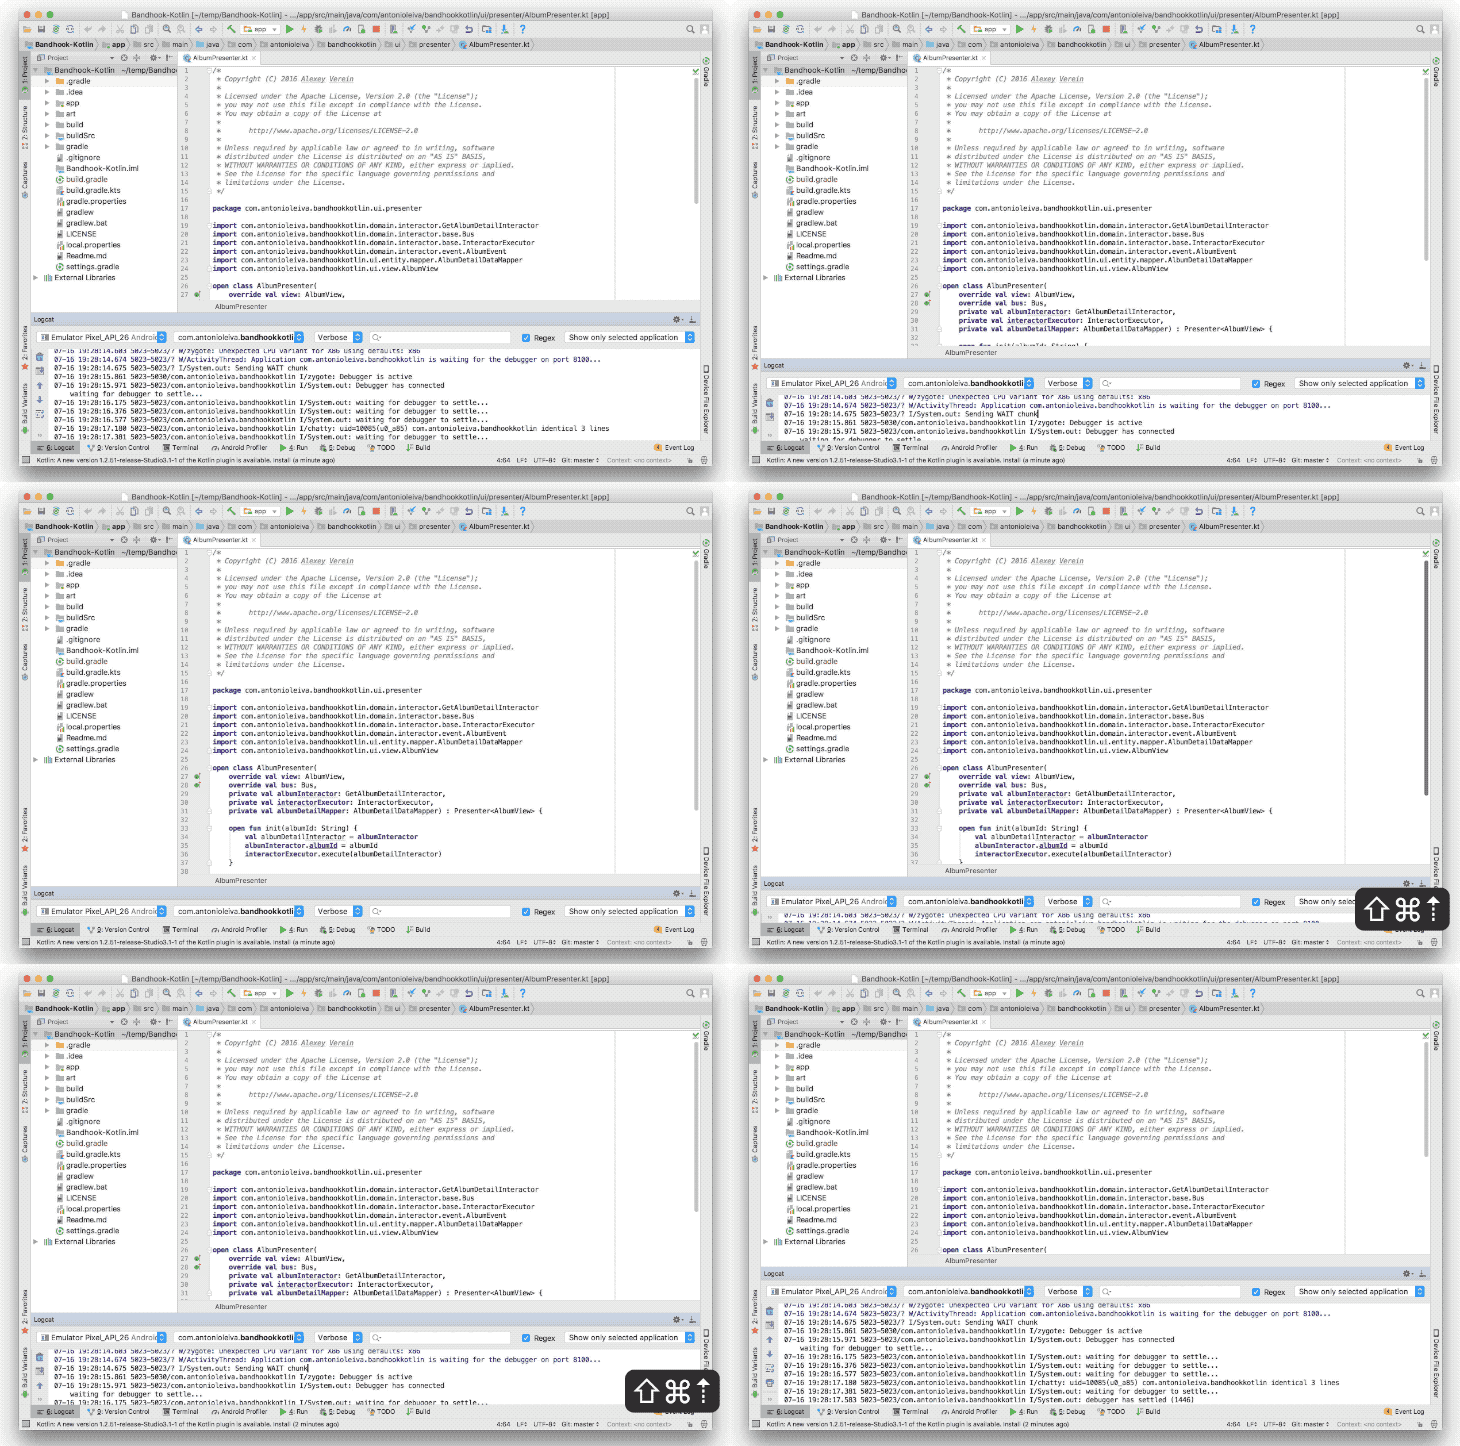
Note that this will also work with ⇧ + ⌘ + → and ⇧ + ⌘ + ← for side views.
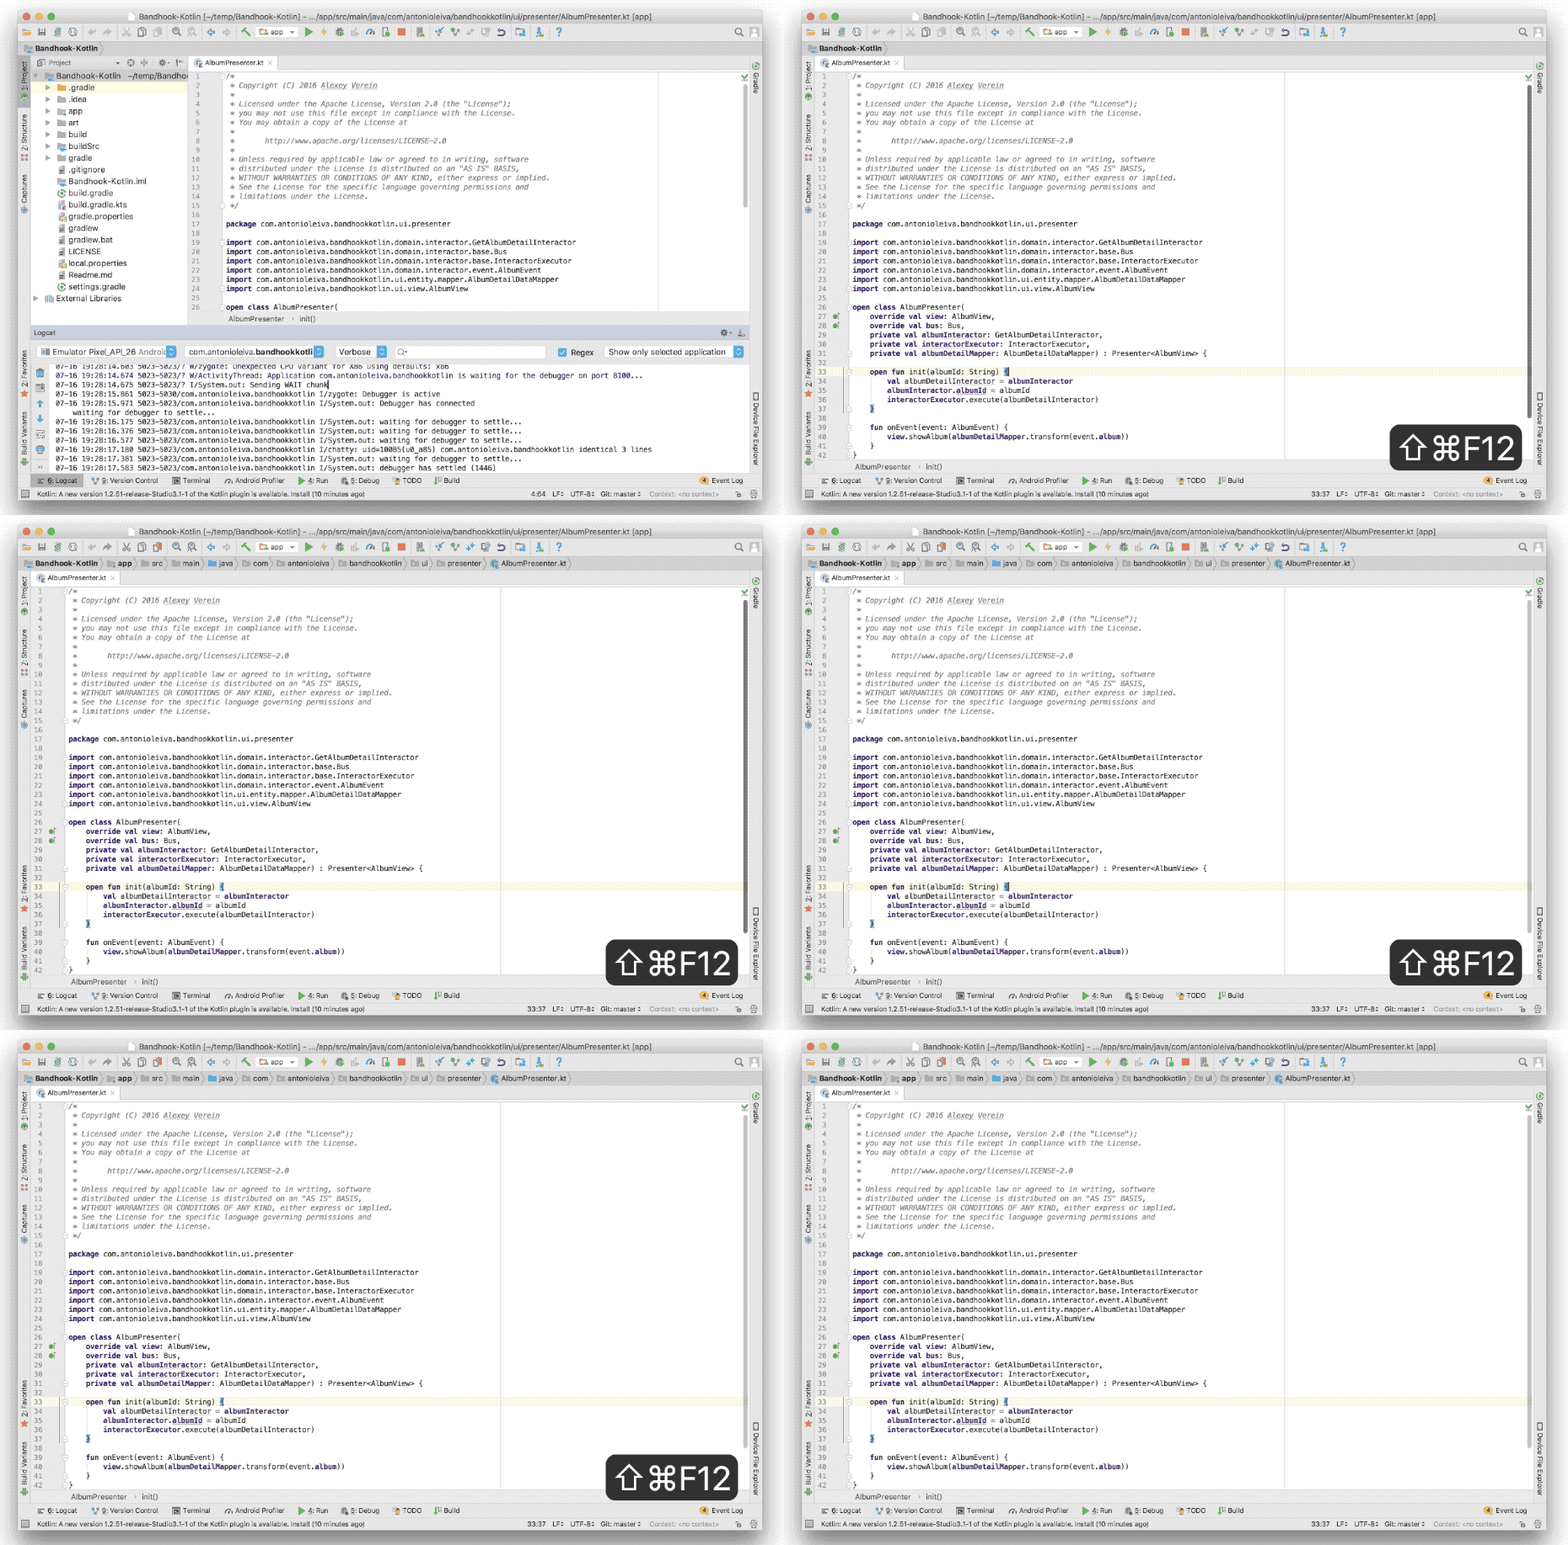
Or close all views with ⇧ + ⌘ + F12 to have a clutter free interface,
When you have multiple tabs open, ⇧ + ⌘ + [ and ⇧ + ⌘ + ] come in handy to cycle between tabs.
![Use `⇧ + ⌘ + [` and `⇧ + ⌘ + ]` to cycle between tabs](https://jeroenmols.com/img/blog/androidstudioshortcuts3/changetabs.gif)
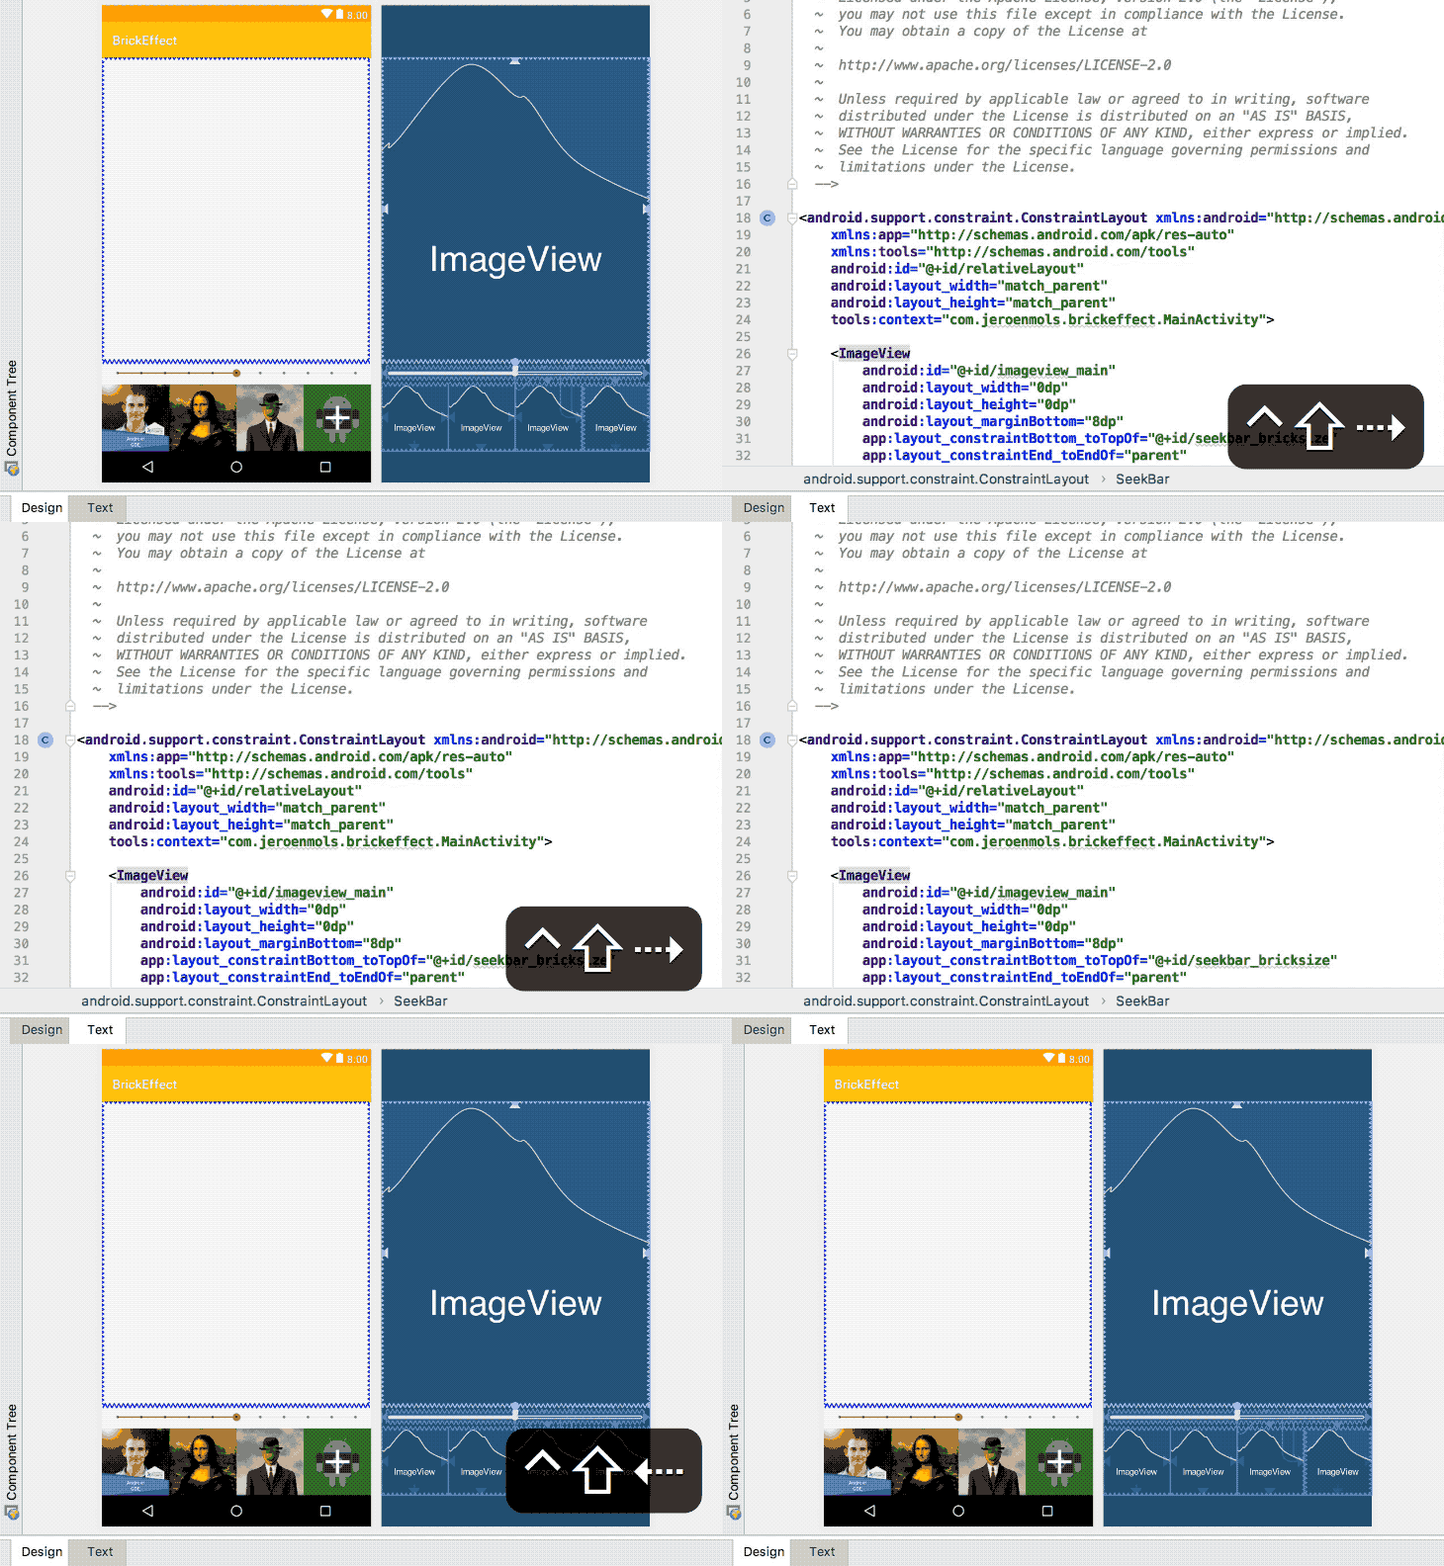
If you’re designing layouts, you can use ^ + ⇧ + → and ^ + ⇧ + ← to switch between design and text view.
And whenever you have a dialog open you can use ⌥ to highlight what letters you can press to invoke the respective buttons. E.g. in the example below ⌥ + R is used to press the replace button.
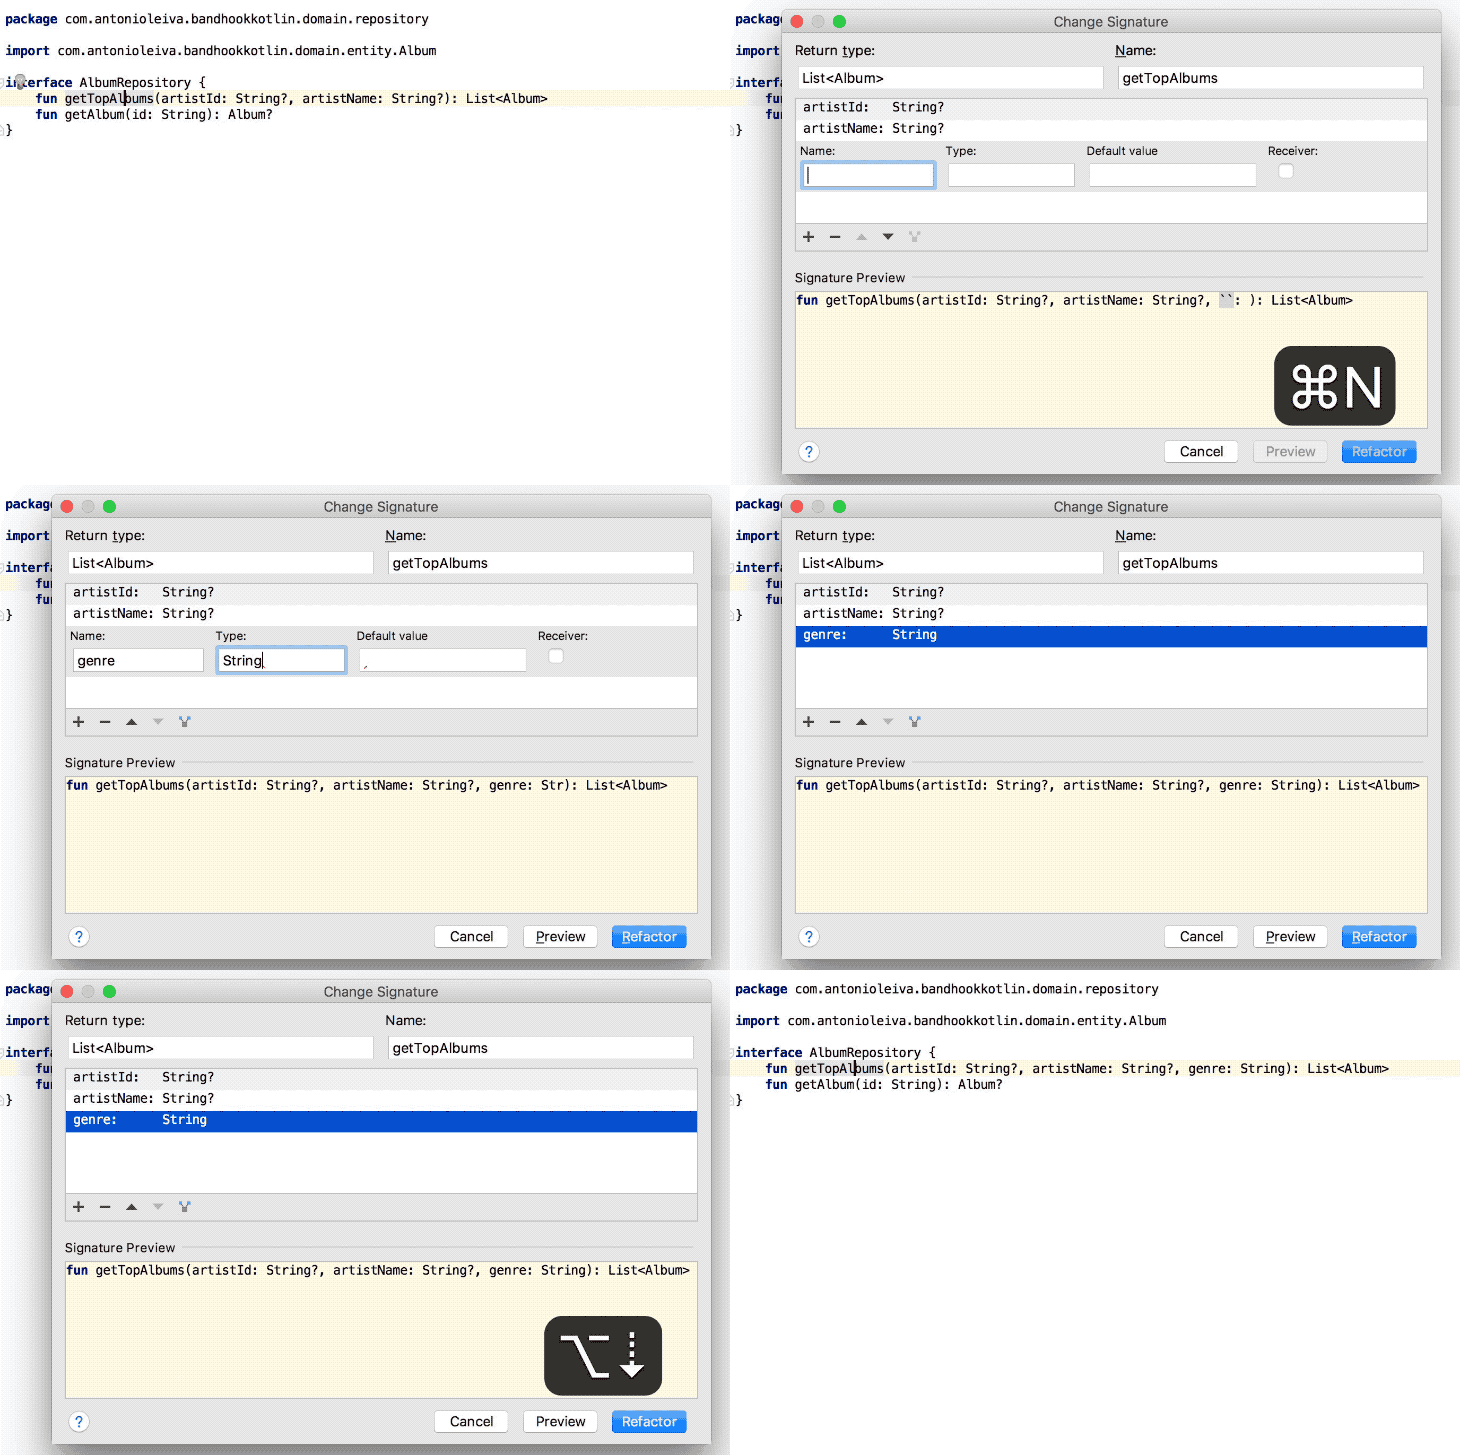
Note that pressing ⌥ helps in a lot more situations such as in the find and replace window. (notice the subtle underline)

Shortcut lookup
If there is one shortcut you should really remember, then that is ⌘ + ⇧ + A. That one allows you to invoke any Android Studio action using your keyboard.
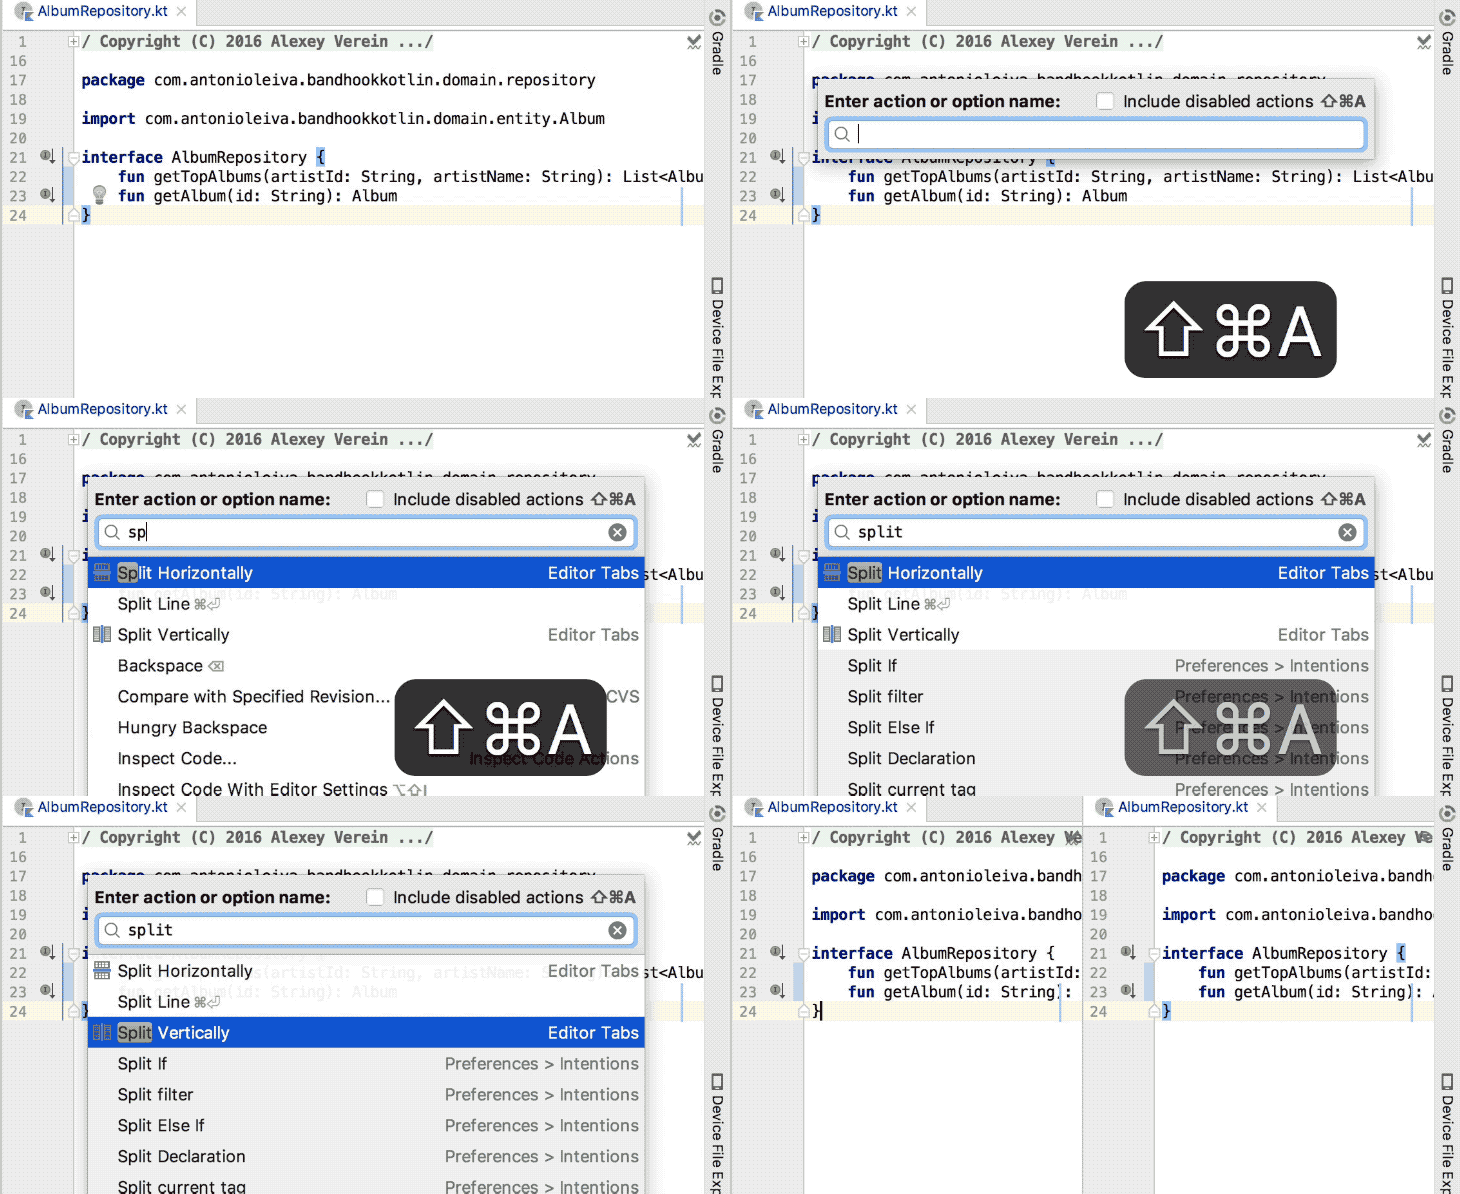
Note that this also serves as a useful shortcut lookup tool. Next to every action the corresponding shortcut will be displayed (if there is one).
Additional reads
Android Studio is incredibly powerful and hence this blog post series couldn’t cover everything. However, if I piqued your interest, have a look at these references:
- Using multicursor in Android studio by Kevin Pelgrims
- Permantent function keys in Android Studio with Macbook pro Touchbar By Georg Apitz
- Structural search and replace by Darren
- Android studio live templates by Retro Meier
- Postfix code completion by Vojtech Ruzicka’s
Wrap up
Investing time to really learn Android Studio can mean a big productivity boost. Start with ⌘ + ⇧ + A, learn the corresponding shortcuts and challenge yourself to use your mouse less.
This was the last part in my series to get the most out of Android Studio.
If you’ve made it this far you should probably follow me on Mastodon. Feel free leave a comment below!

Leave a Comment